


Financial
Literacy
Games for
Students
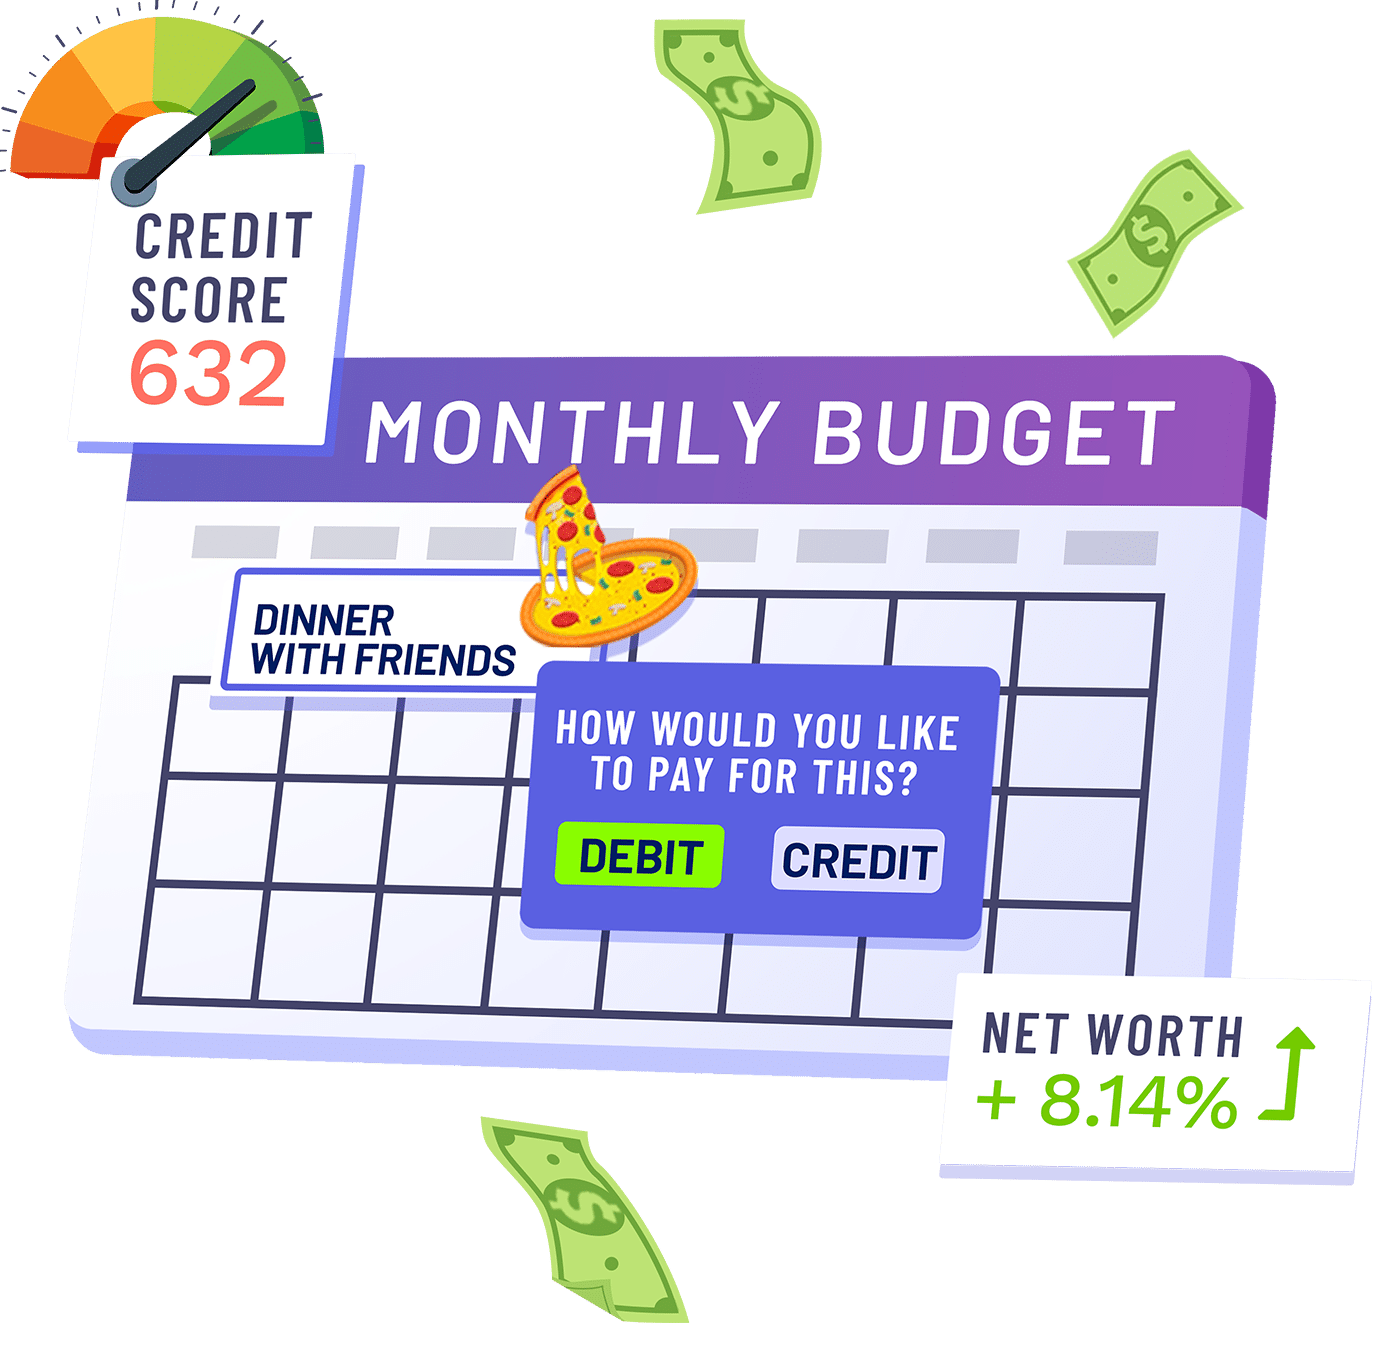
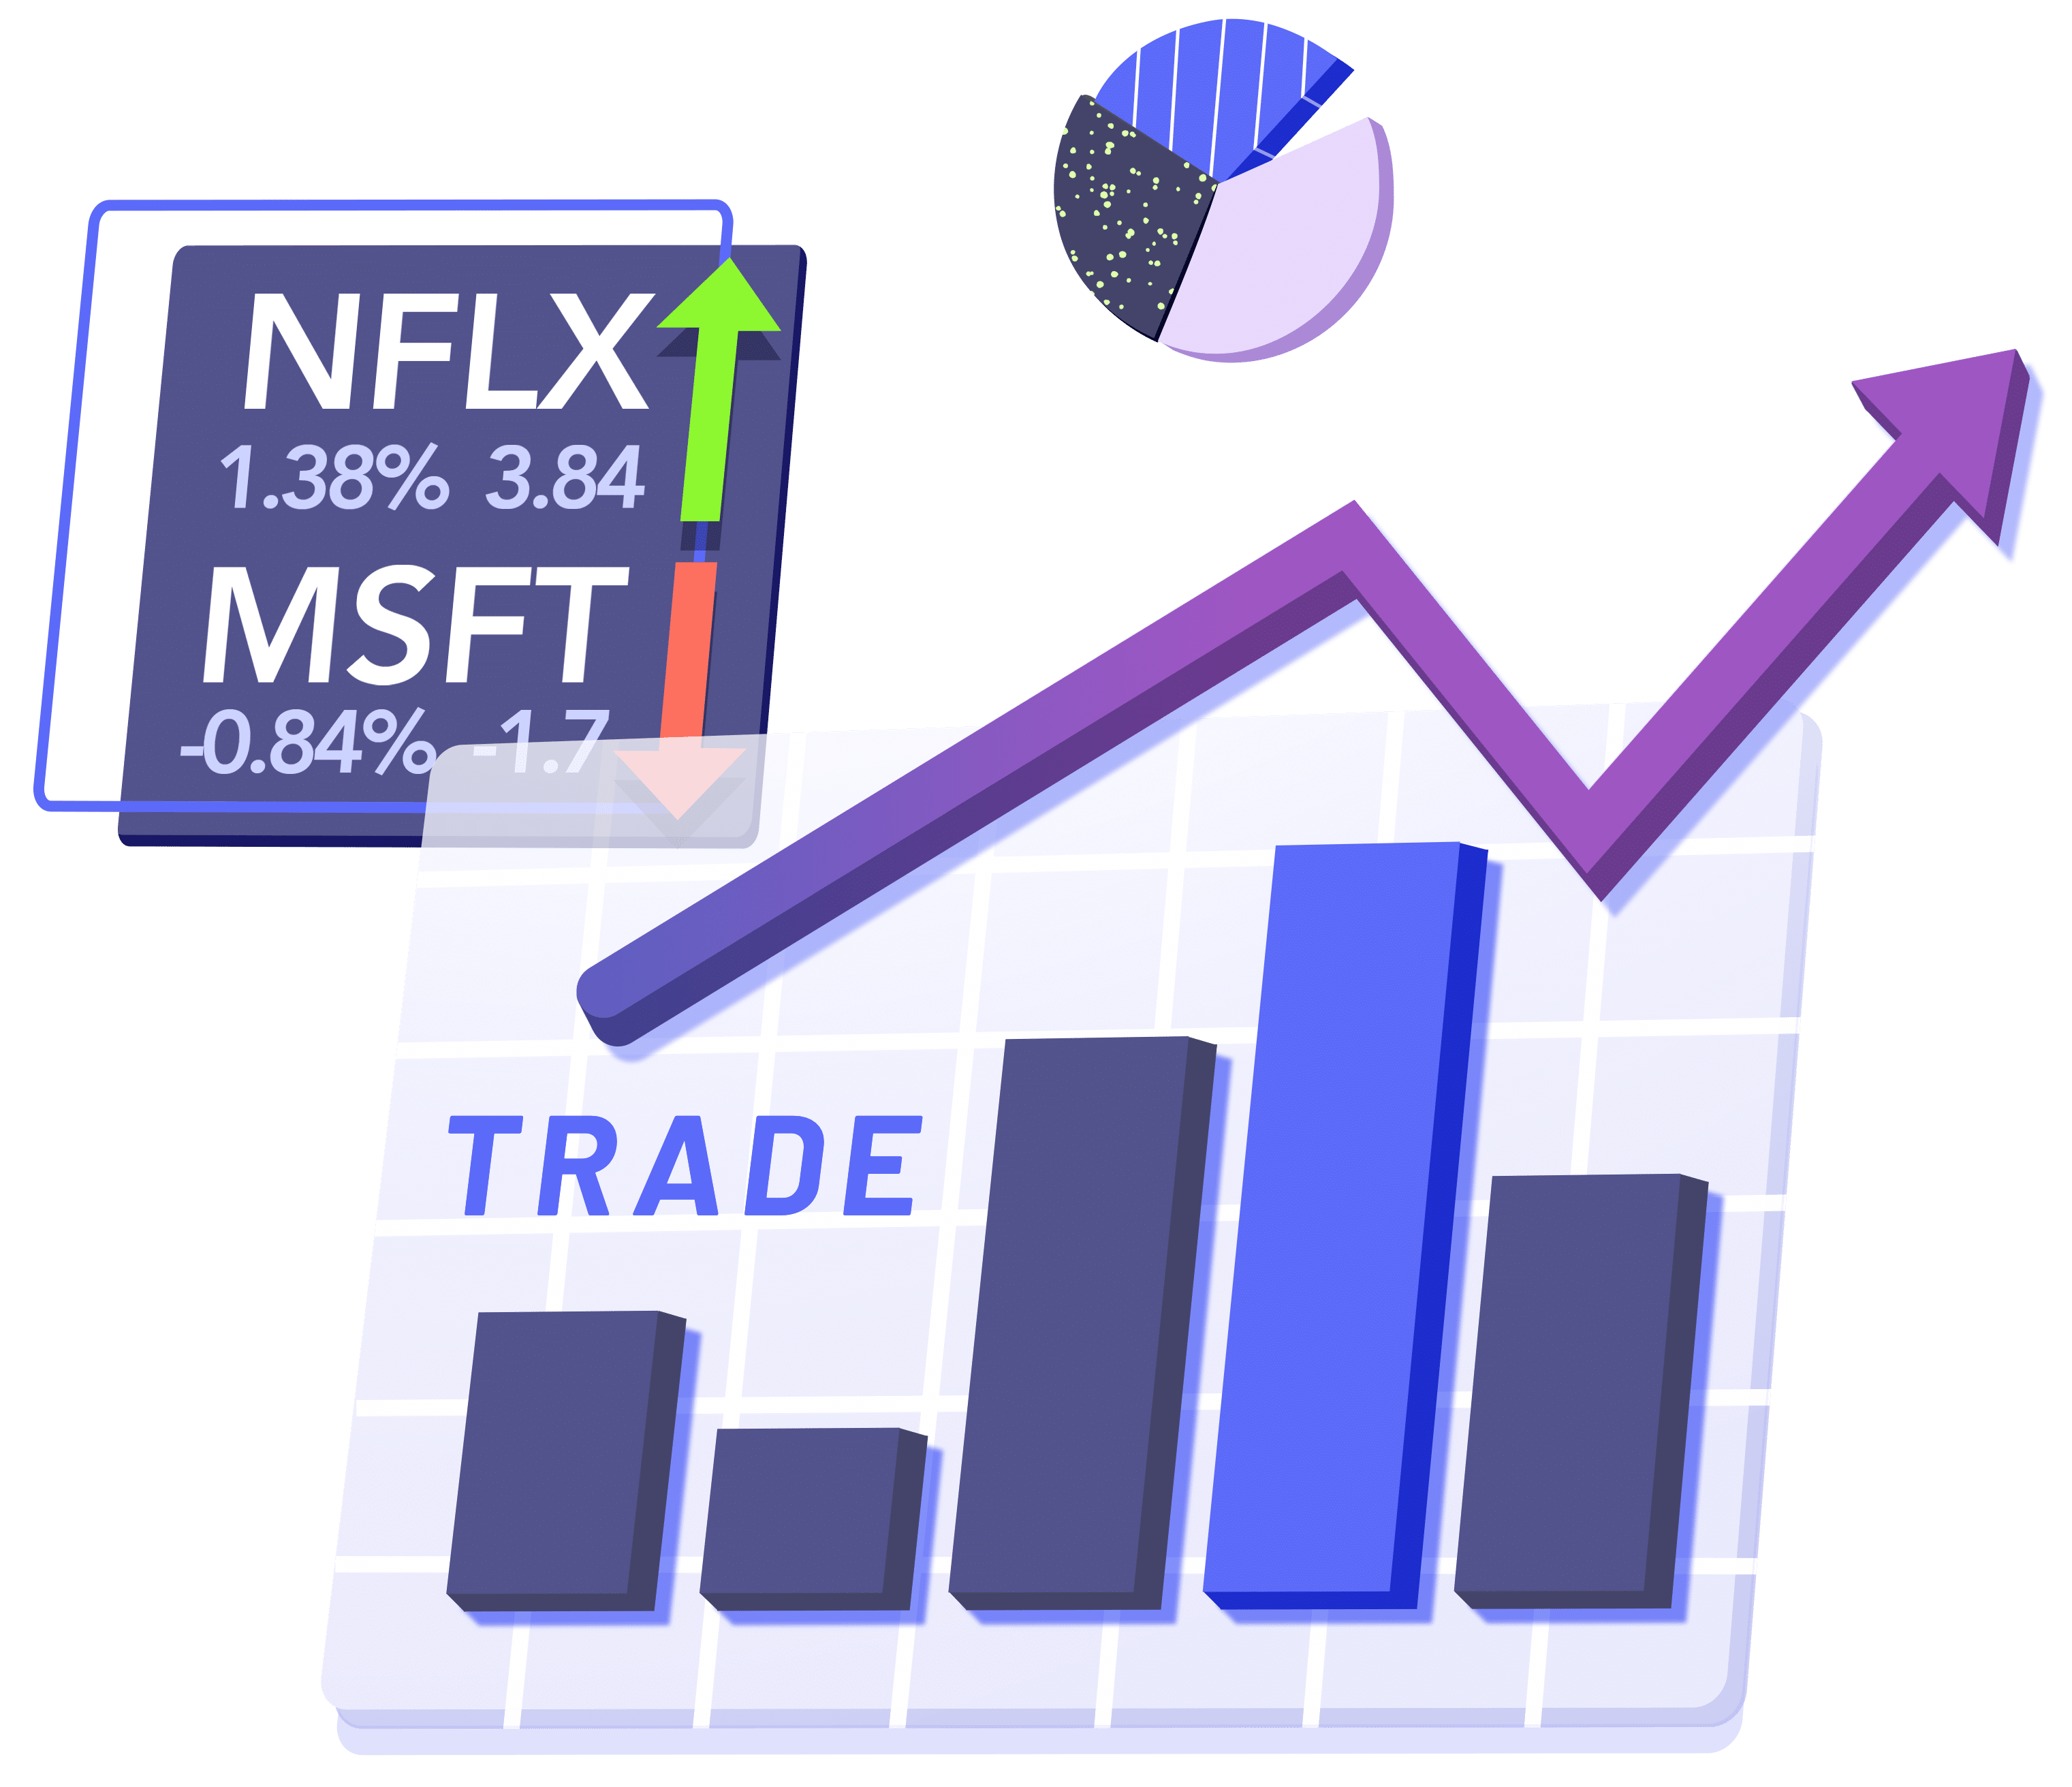
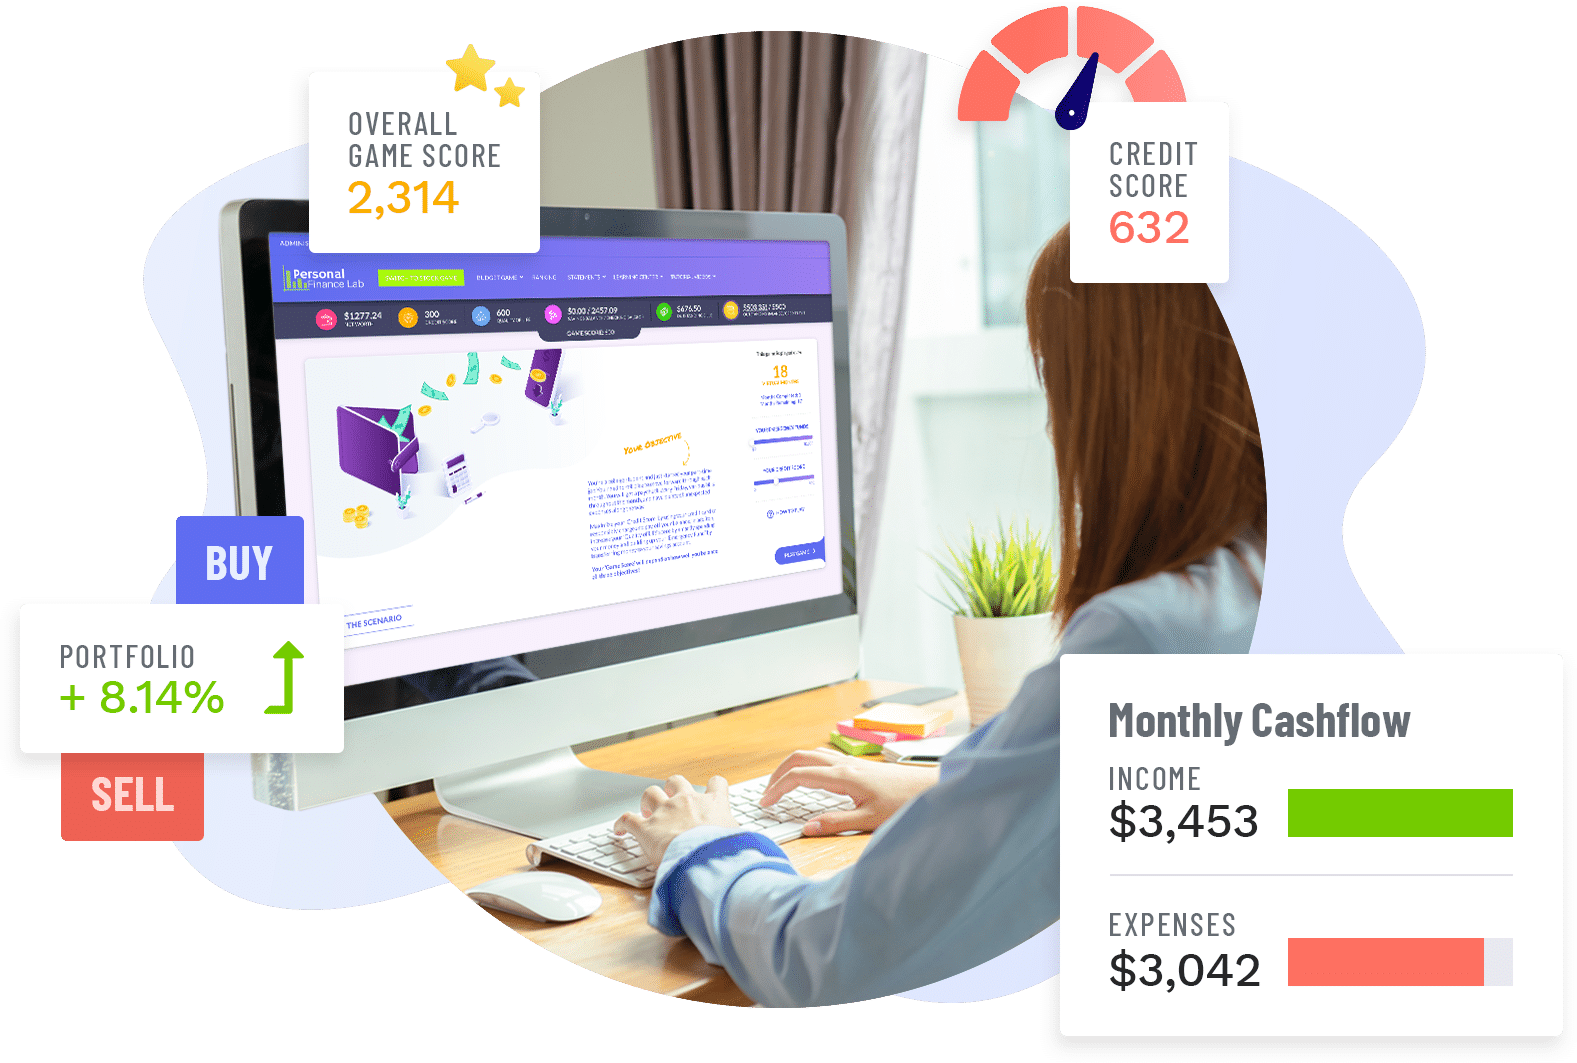
Budget Game. Stock Game. Supplemental Learning Resources. Banking, credit, debt, savings, taxes and more. All in one customizable platform.
Teacher Test DriveIf you’re a college professor,
please visit our college site.